This article provides step-by-step instructions for the following features:
-
Creating an Invoice
-
Showing ‘Invoice Time’ Instead of ‘Order Time’
-
Hiding Location Address from Printed and Email Receipts
-
Merging and Bulk Sending Invoices
-
Marking Orders as ‘Invoiced’
-
Customizing Merged Order Reference Text
-
Restricting Invoice Editing After Sending
-
Sending Invoice Reminder Notifications
-
Sending Invoices for AR
1. How to Create an Invoice
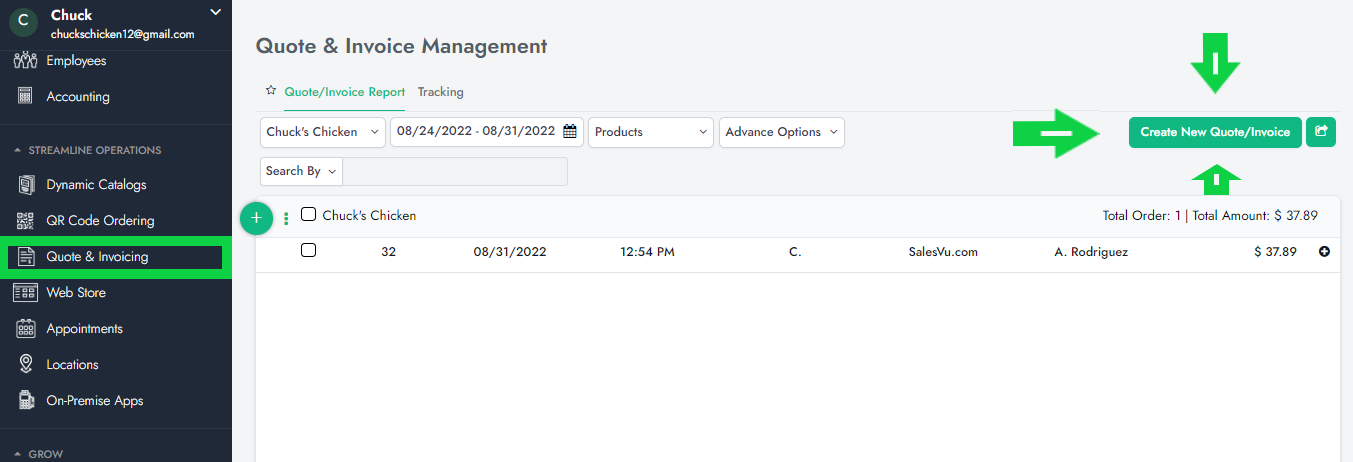
1. Log in to SalesVu.com
2. Click on 'Quote and Invoicing'
3. Click on 'Create New Quote/Invoice'
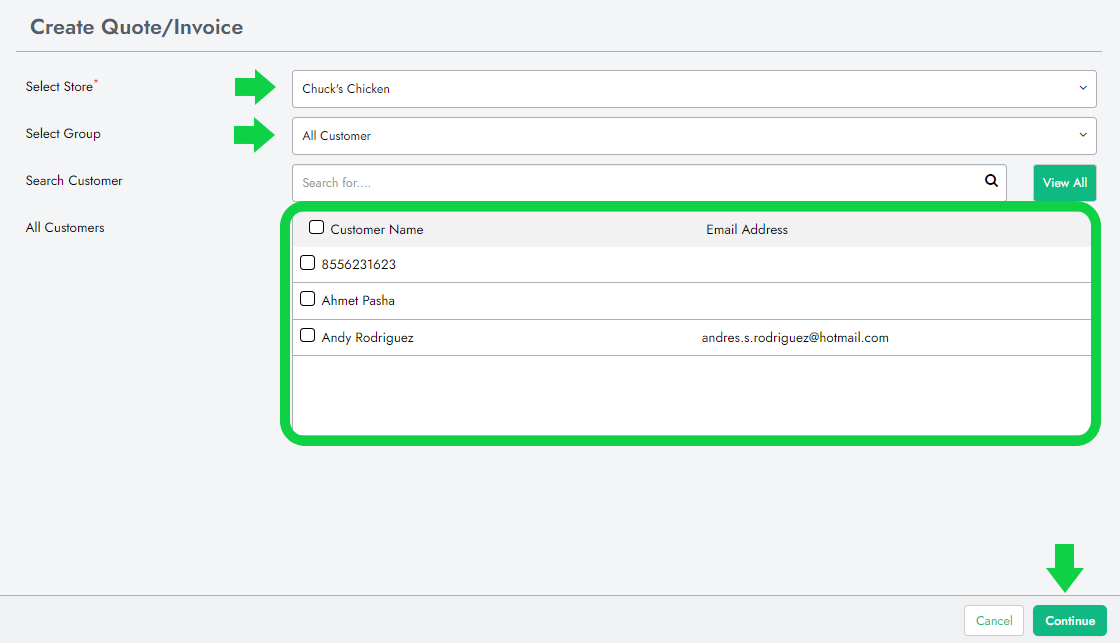
4. Attach a customer or customers from the customers' group to the invoice and click on 'Continue'
5. Add products to the order
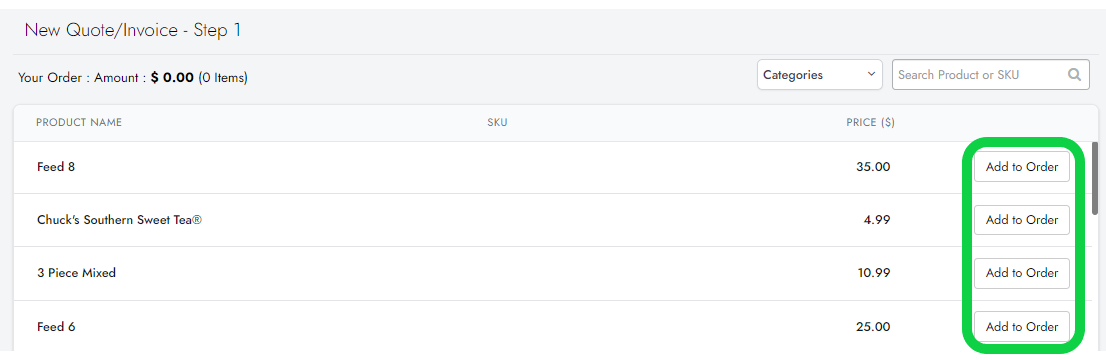
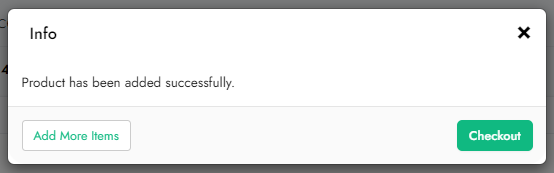
6. If you want to add multiple items, click on the 'x' or 'Add More items' to add more items to the order. Otherwise, click on 'Checkout'
7. Preview and edit the invoice's details, such as the products, customer information, due date, shopping status, and discount.
8. At the bottom, click on 'Send As: Invoice'
9. Click on 'Create Invoice'
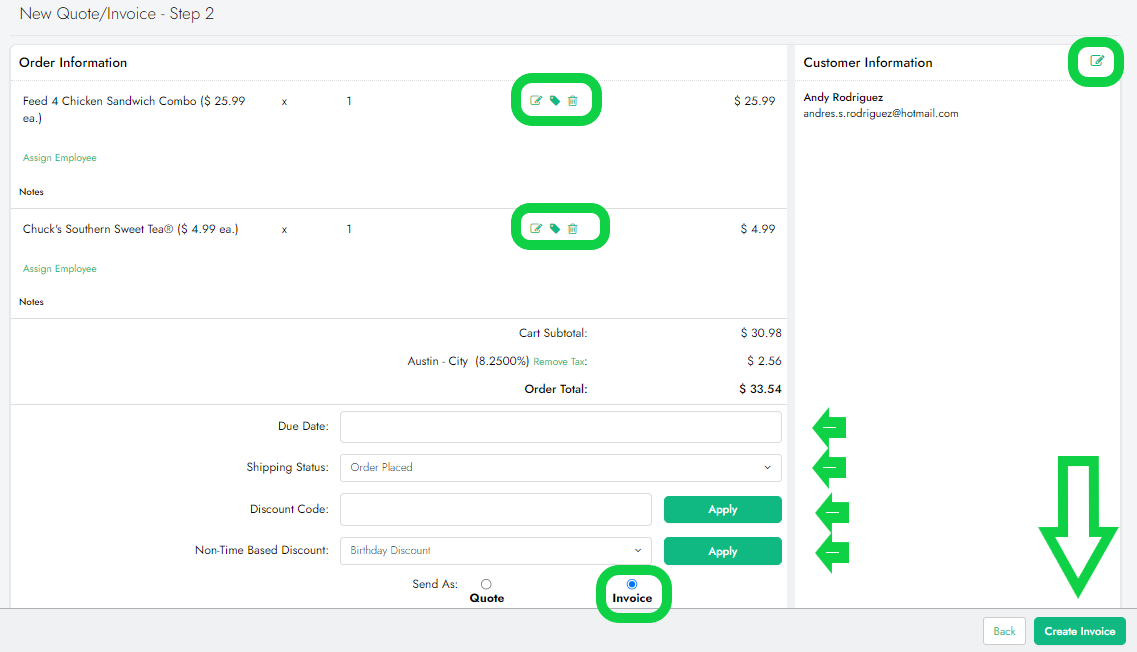
10. Once sent, you can either send or print the invoice or return it to the 'Quote/Invoicing' section

2. How to Show ‘Invoice Time’ Instead of ‘Order Time’
This setting allows you to display Invoice Time instead of Order Time in invoice emails.
How to Enable:
-
Go to salesvu.com > Quote & Invoicing.
-
Click on the Settings (gear) icon at the top right.
-
In Invoice Settings, toggle Show ‘Invoice Time’ Instead of ‘Order Time’ to enable it.
-
Click Save to apply changes.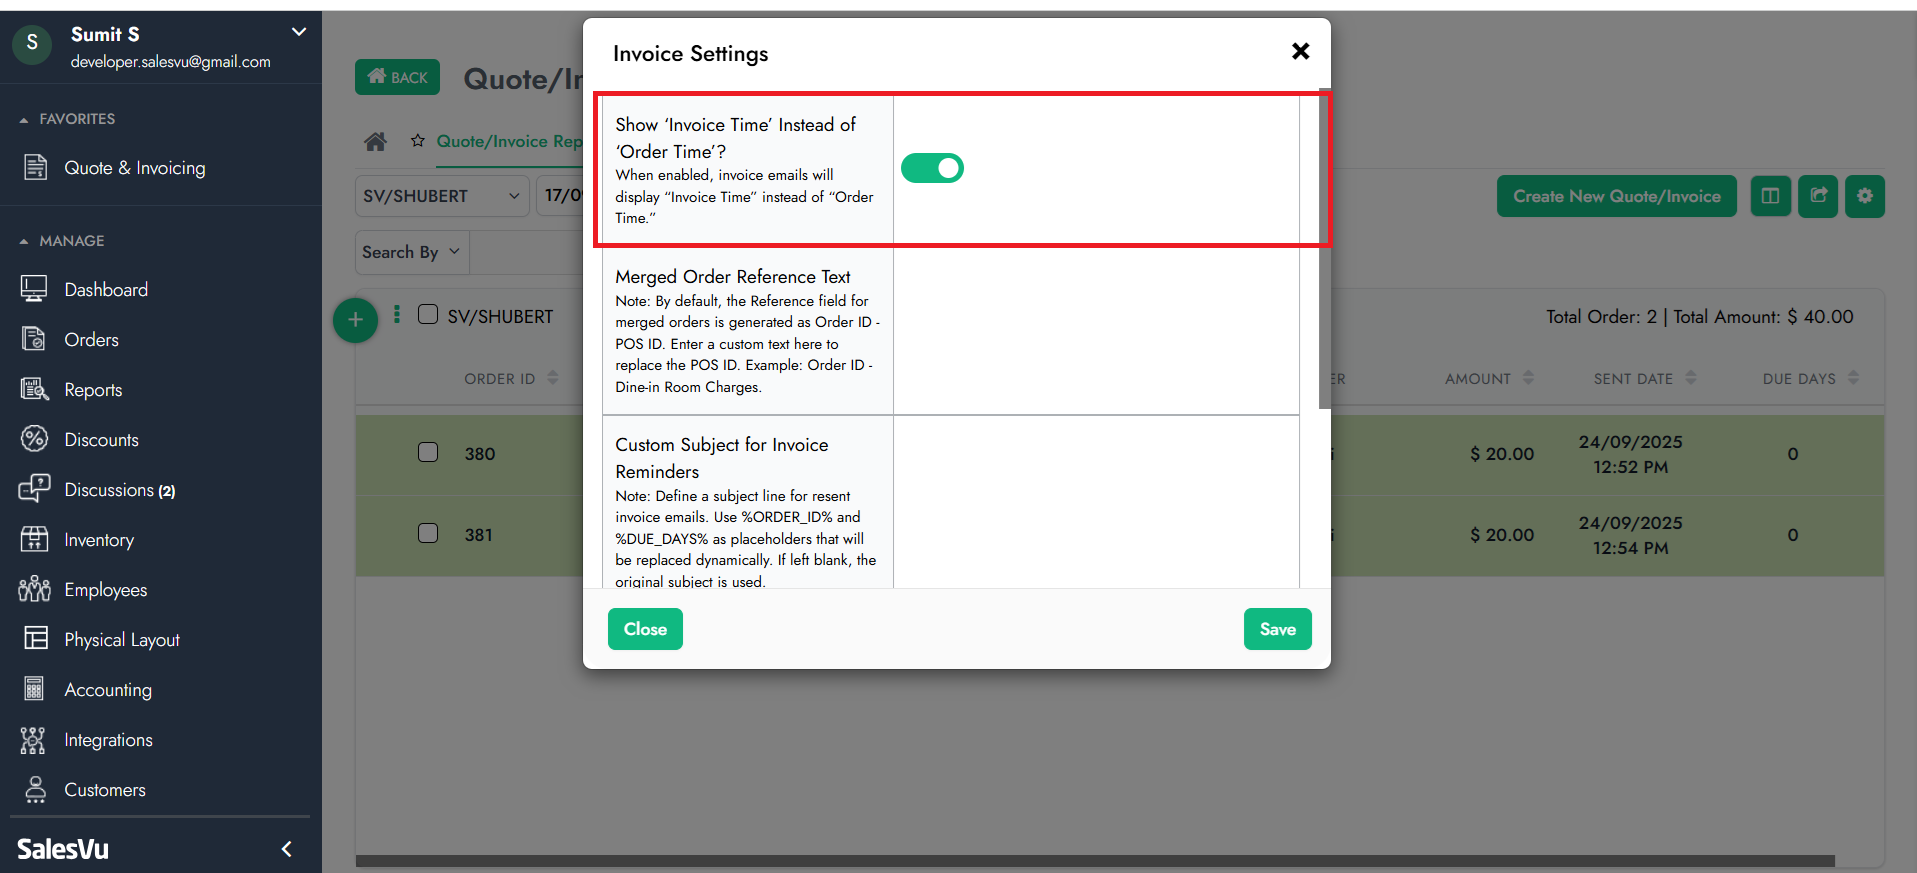
Once enabled, invoice emails will display Invoice Time instead of Order Time.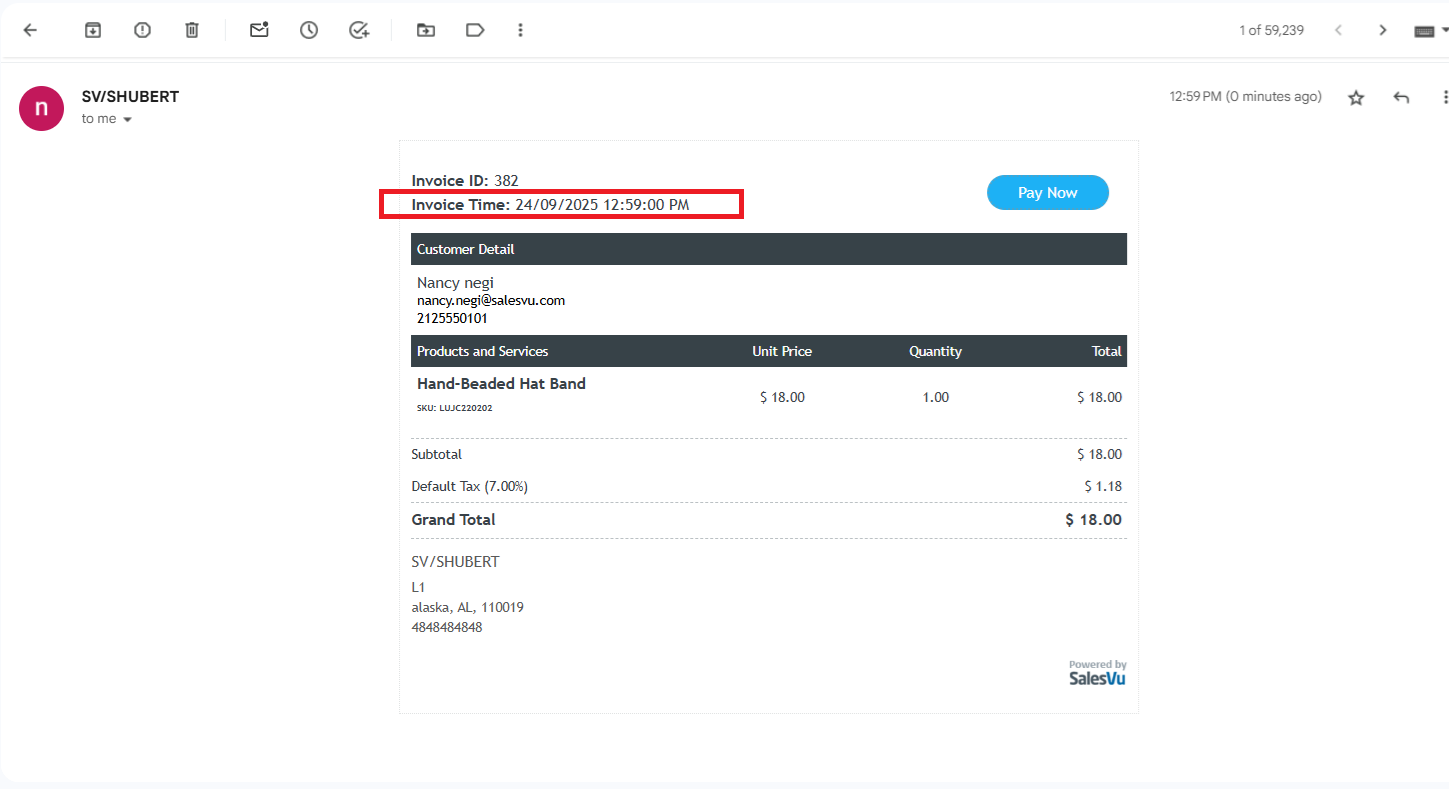
3. How to Hide Location Address from Printed and Email Receipts
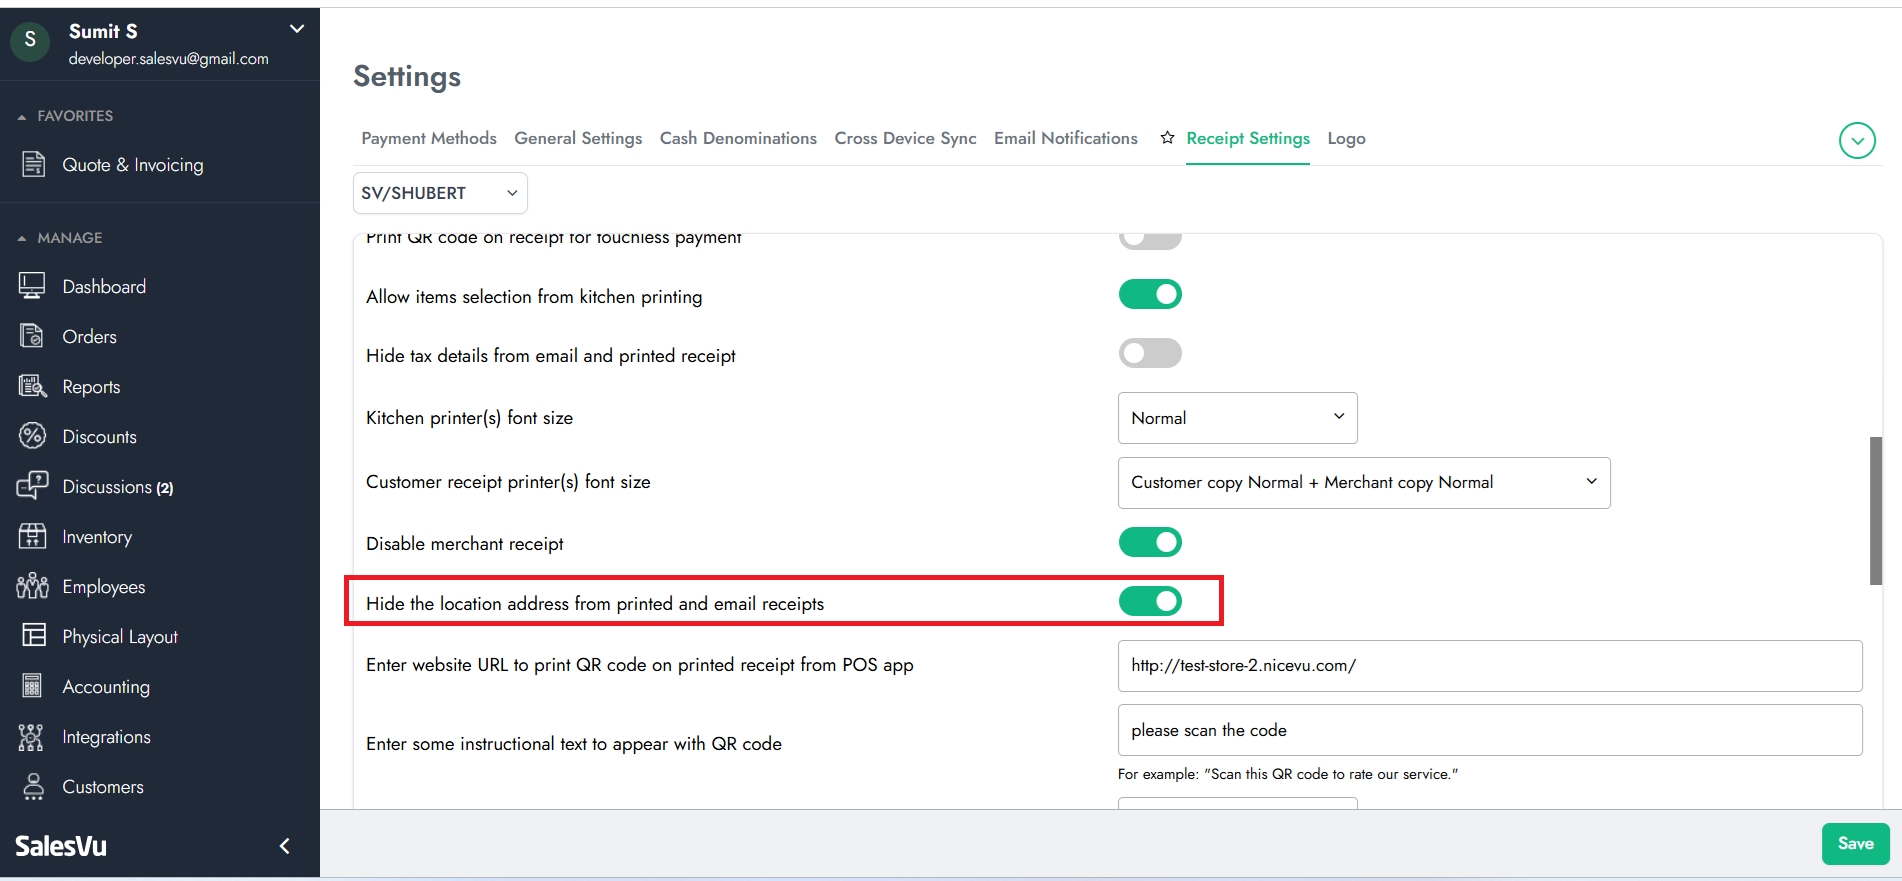
This option allows you to remove the location address from both printed and email receipts if you prefer not to display it to customers.
How to Enable:
-
Go to salesvu.com > Settings > Receipt Settings.
-
Find the option Hide the location address from printed and email receipts.
-
Toggle it ON to hide the address, or OFF to display it.
-
Click Save to apply changes.
4. How to Merge Invoices and Bulk Send them:
-
Merge Orders: Search for orders using their Order ID or customer name. Select the orders you want to merge and click on the 3 dots at the left top > 'Merge' button.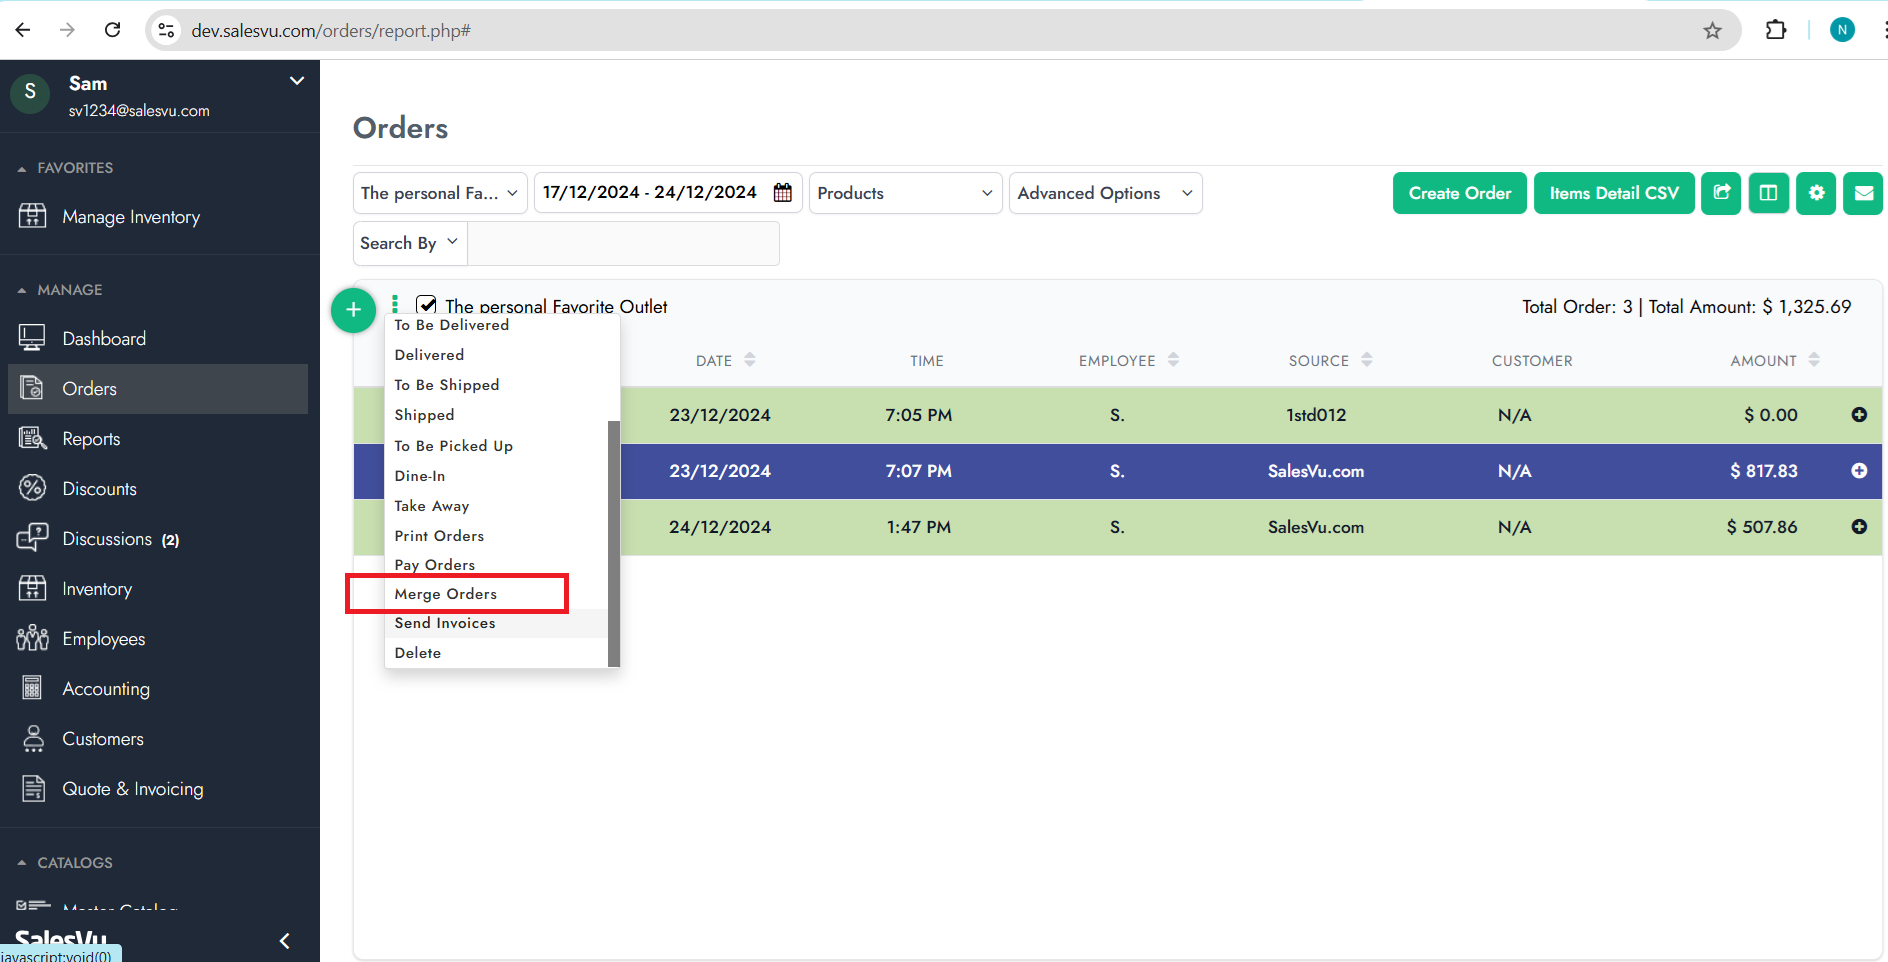
-
Send Invoice: Once the orders are merged, click the 'Send Invoice' button under the same drop-down menu.
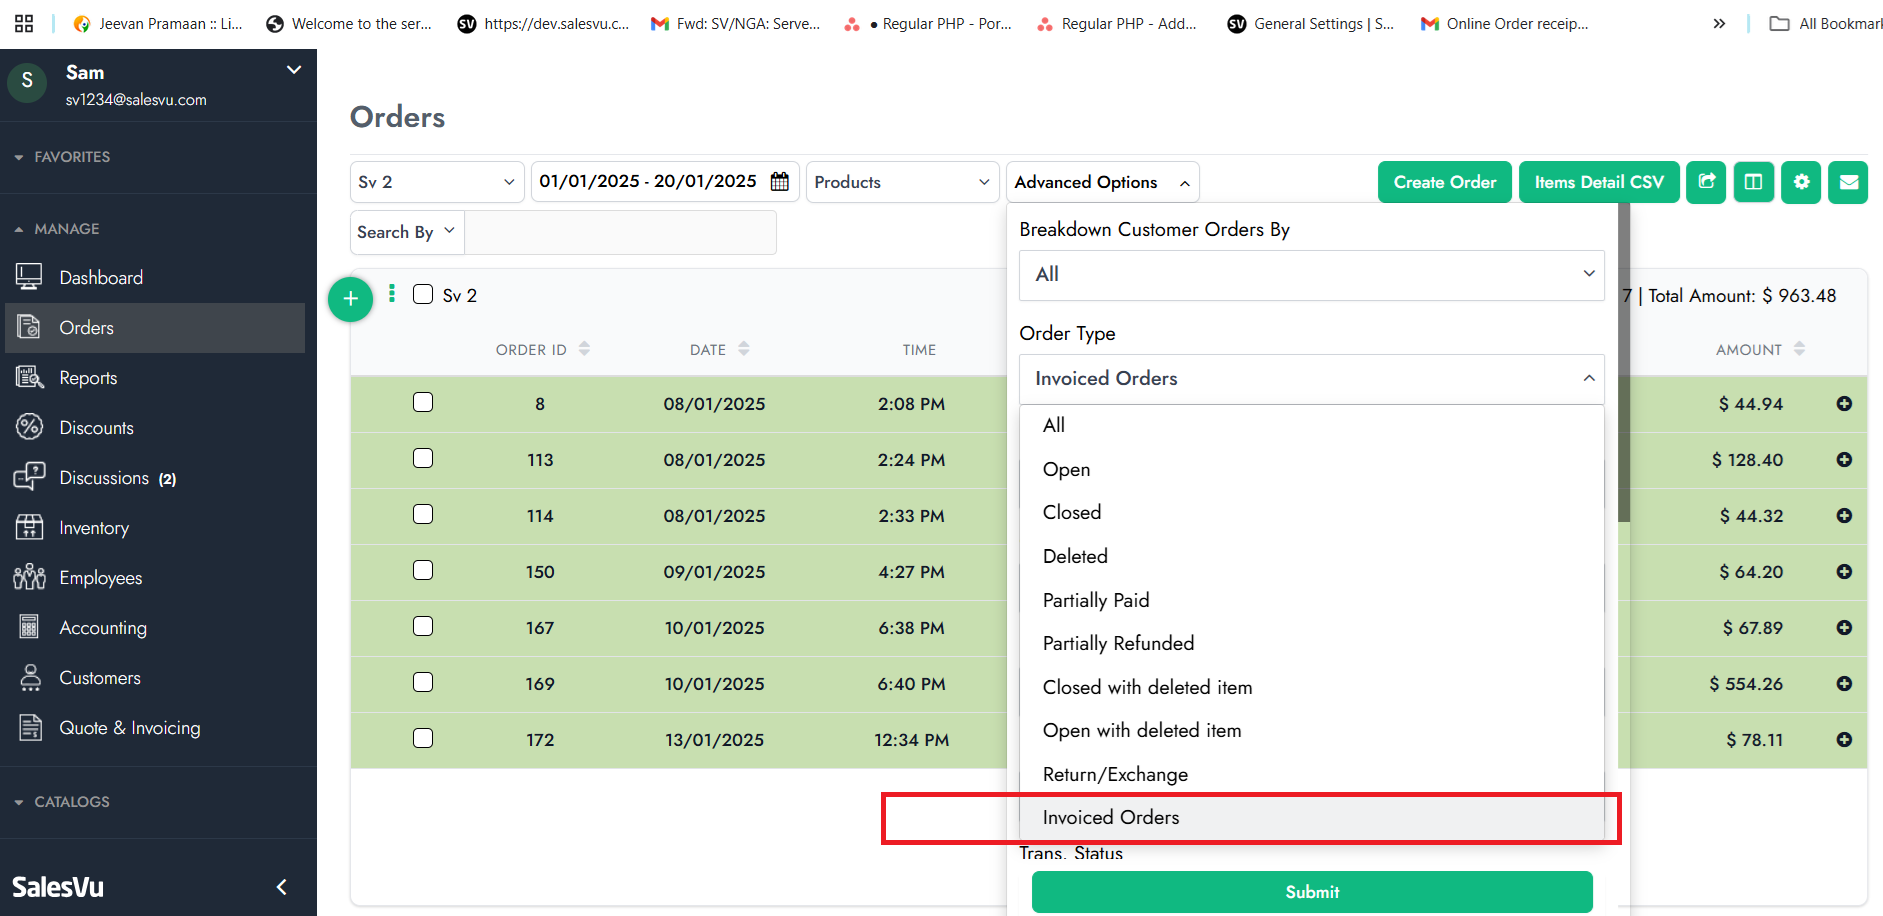
5. How to Mark Orders as 'Invoiced'
Marking orders as 'Invoiced Orders' will move them from the 'Open' orders list to the 'Invoiced Orders' section, allowing you to easily view orders with sent invoices. To enable this setting, follow these steps:
- Go to Orders in the menu.
- Click on the Settings icon.
- Enable the toggle for the setting Add Order Type "Invoiced Orders"

- Then, you can click on the Advanced Options and filter your orders with the new order type, Invoiced Orders
6. How to Customize Merged Order Reference Text
This setting allows you to replace the default POS ID in merged order references with a custom text for easier identification. By default, merged orders display as Order ID – POS ID. You can customize the reference to something more descriptive.
How to Enable:
-
Go to Quote & Invoice Settings (gear icon).
-
Locate the Merged Order Reference Text field.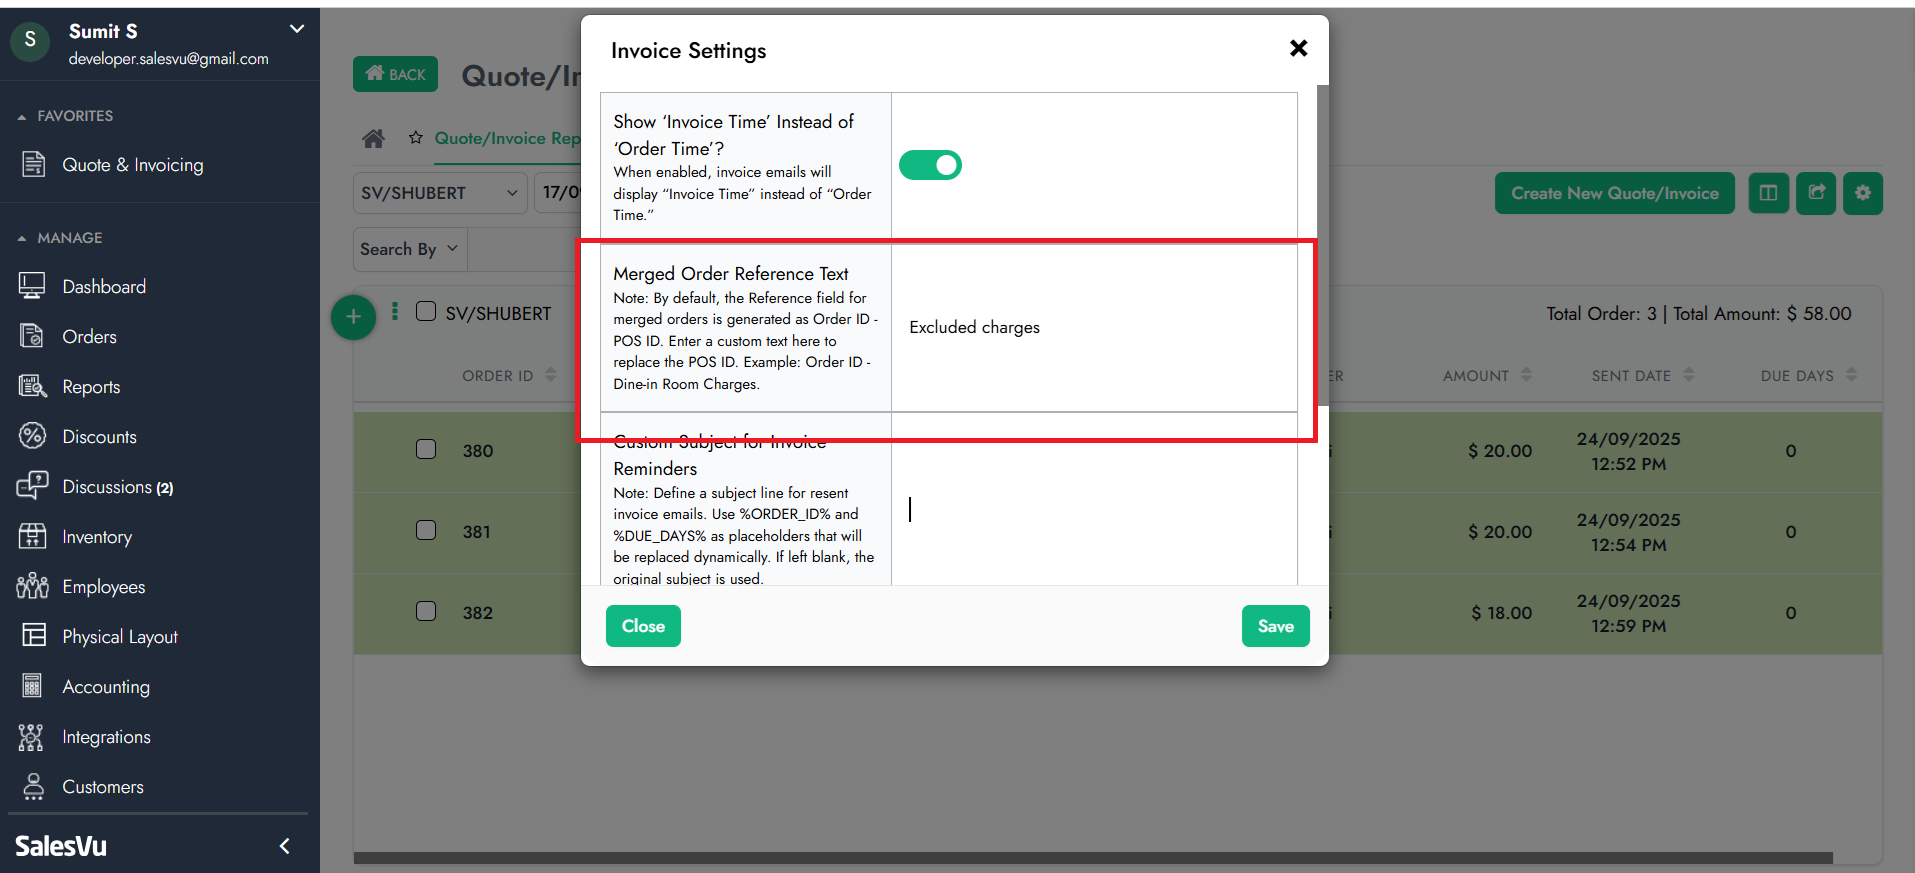
-
Enter your custom text to replace the POS ID (e.g., Order ID – Dine-in Room Changes).
-
Click Save.
Here is an example of how this reference will appear to your customers on the invoice.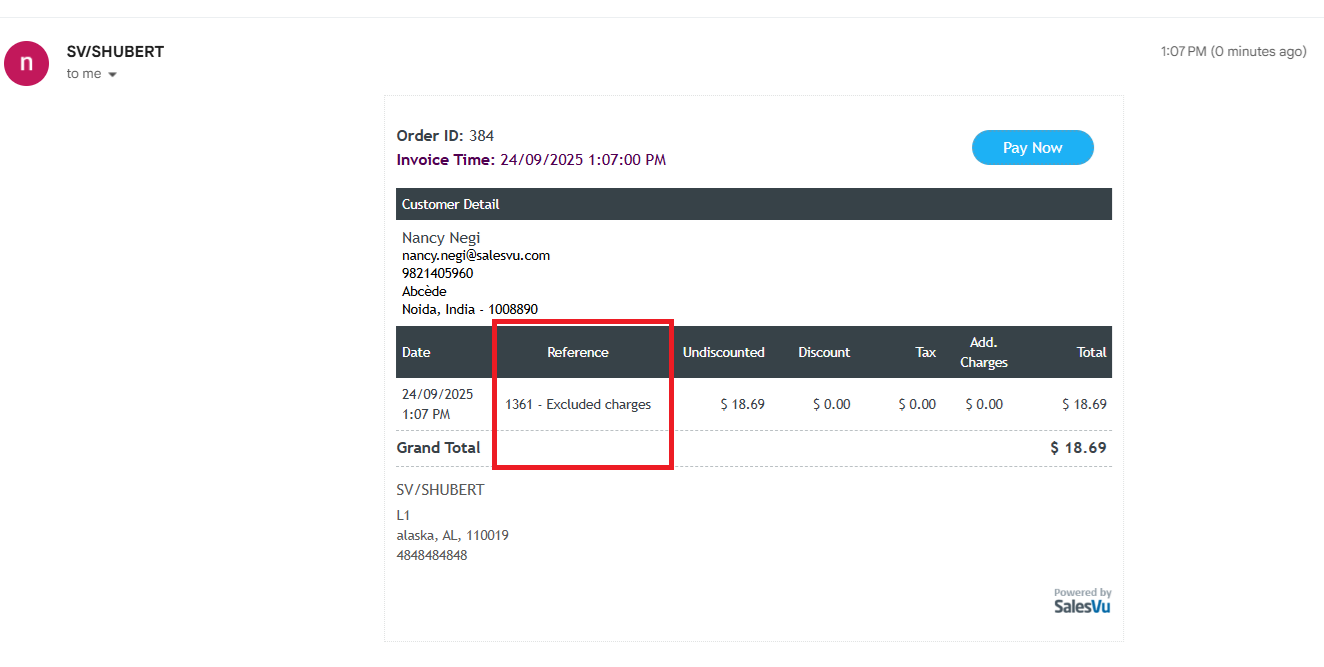
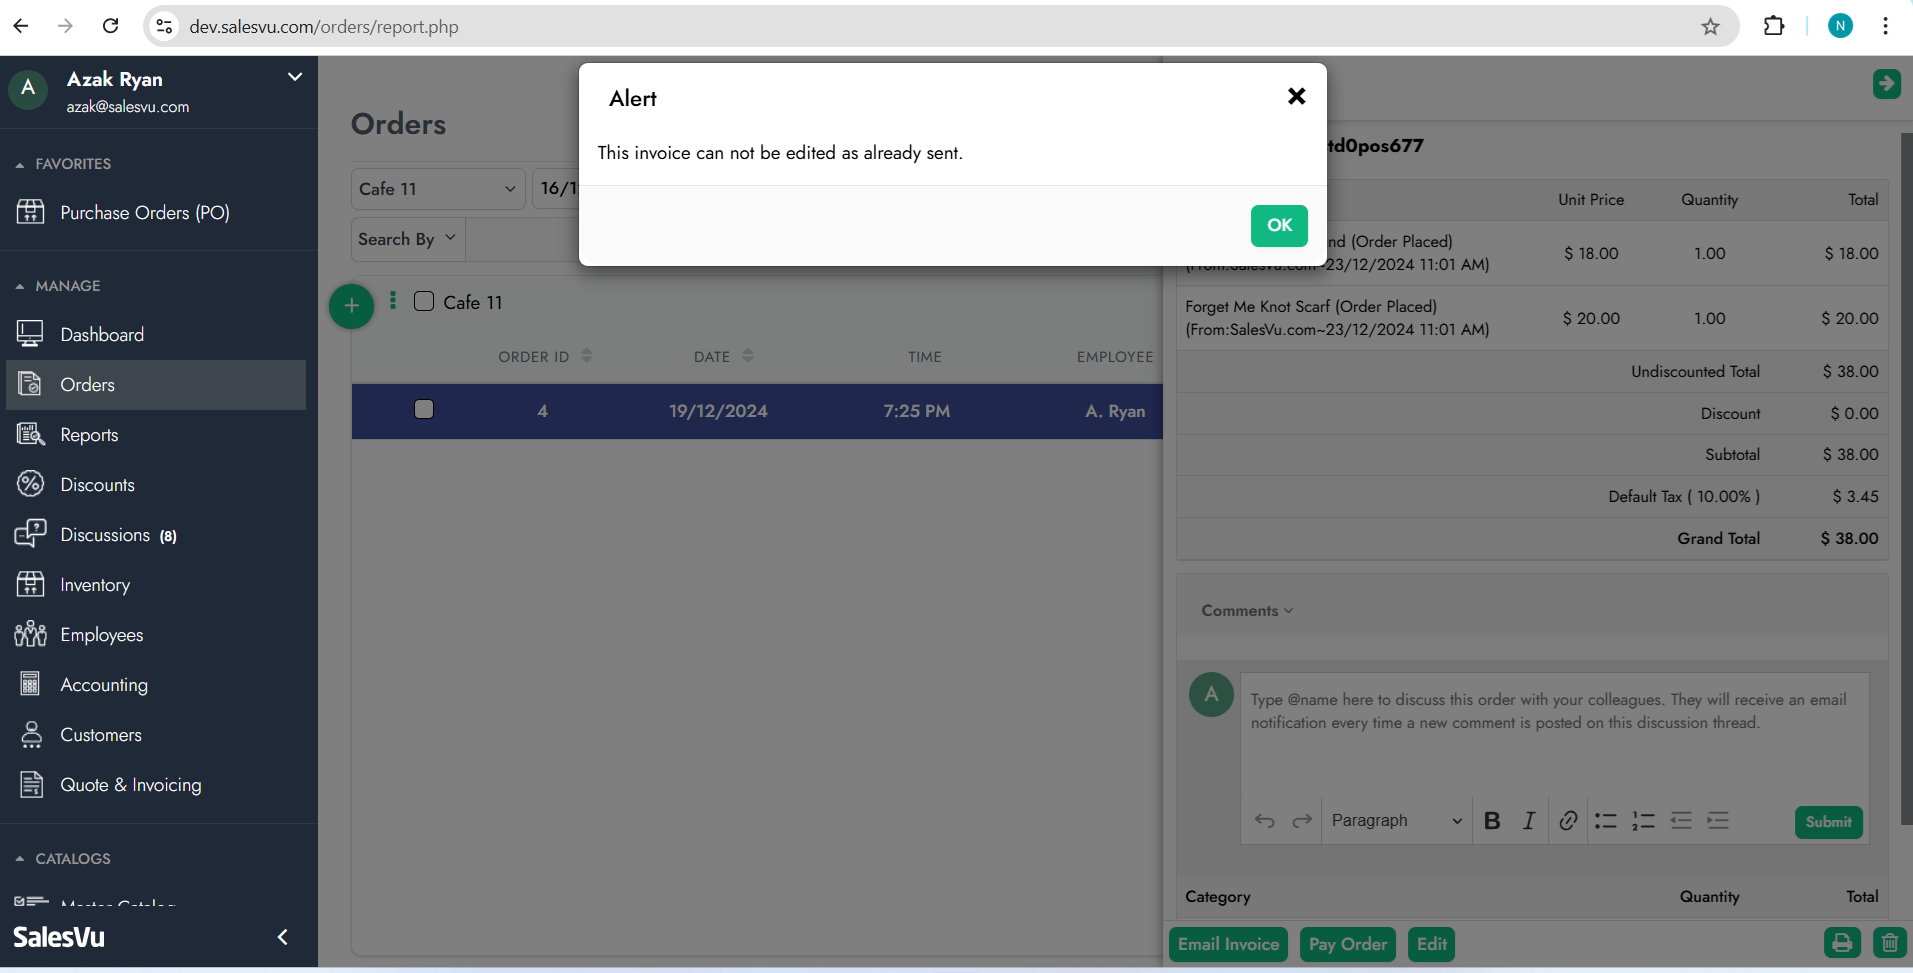
7. How to Restrict Editing Invoices After They Have Been Sent
- Go to Orders in the menu.
- Click on the Settings icon.
- Enable the Restrict Order Editing After Invoice Sent option.

Once this setting is enabled, no additional changes can be made to an order after the invoice has been sent. The invoice will be marked as 'Invoiced,' preventing users from adding more items. This is an example of an error message that will appear if a user attempts to edit such an invoice:
8. How to Send Invoice Reminder Notifications
This setting allows you to notify diners that they have a pending invoice to pay. You can customize both the subject line and the message that will be sent with the invoice reminder.
How to Enable:
-
Go to Quote & Invoice Settings (gear icon).
-
Locate the Custom Subject for Invoice and Custom Message for Invoice Reminders sections.
-
Enter a custom subject line for the reminder email.
-
Enter a custom message to include in the reminder.
-
Click Save.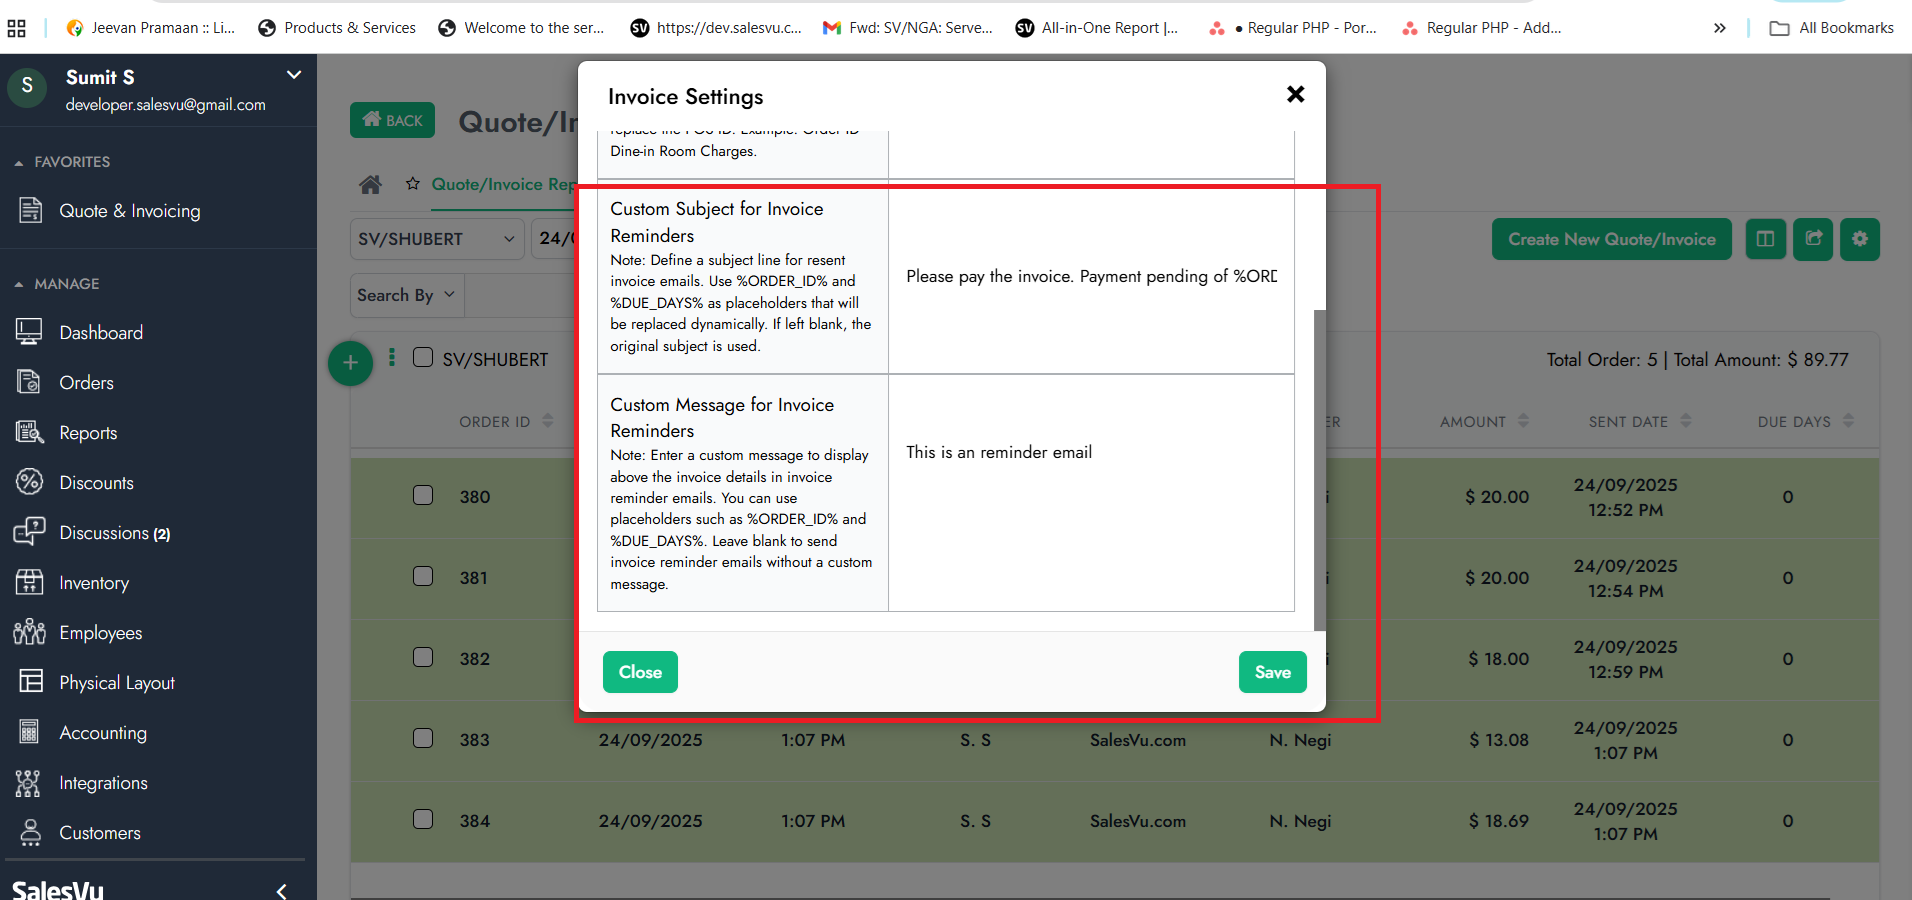
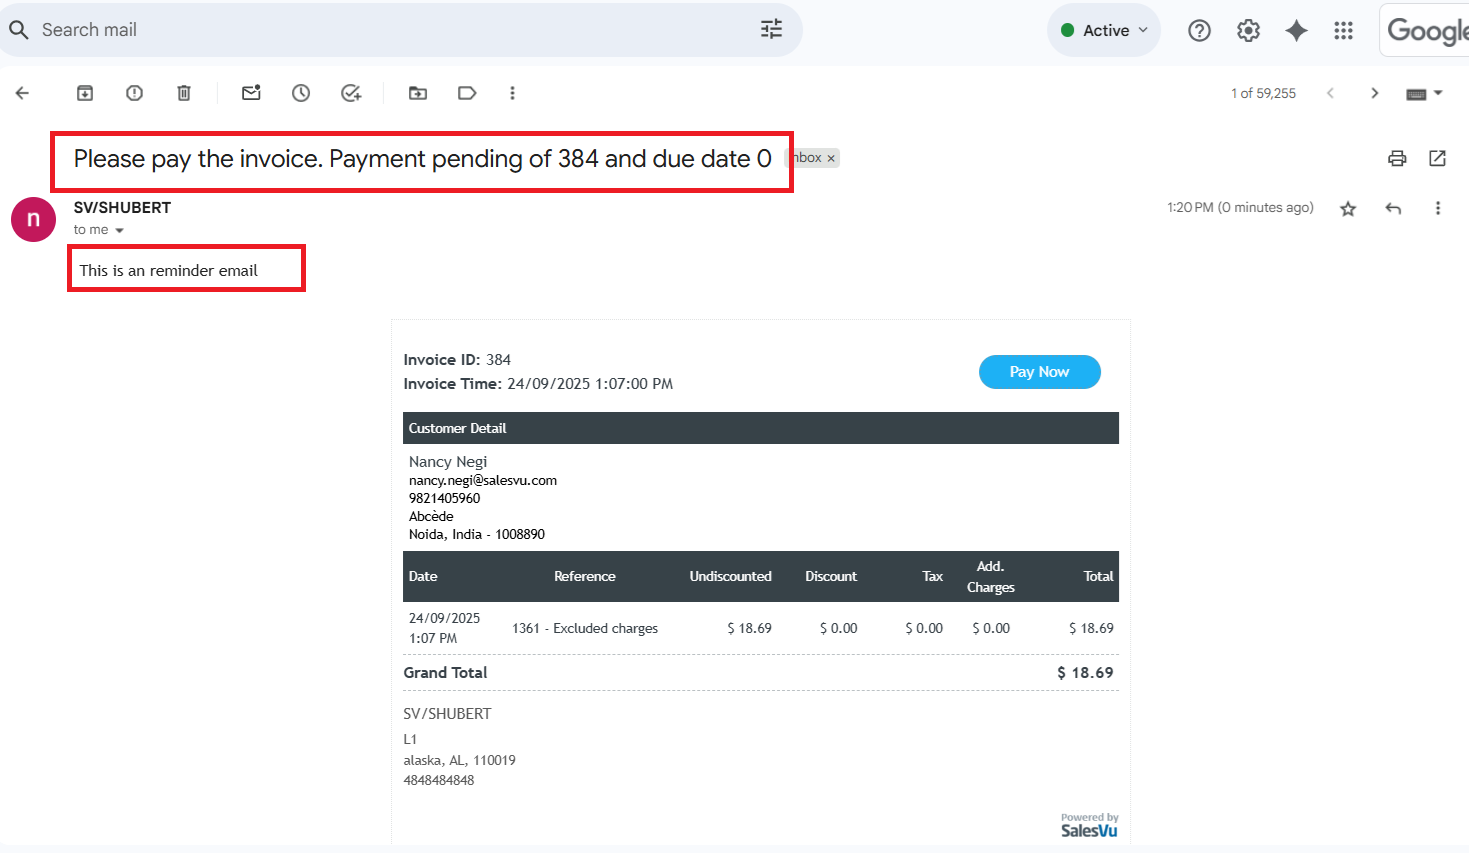
Example:
Your diners can receive an email like:
Subject: Reminder: Pending Invoice
Message: Dear Customer, please settle your pending invoice at your earliest convenience.
9. How to Send Invoices for AR
This option allows you to send invoices in bulk for accounts receivable (AR), making the process faster and more efficient.
How to Use:
-
Go to Orders
- Select multiple closed orders > click on the 3 dots at the left-hand side and click Send Invoices for AR.
Example:
Selecting 5 closed orders and using Send Invoices for AR will send all 5 invoices to the respective customers at once.

